˖⁺‧₊JenBarb's Log on the Web₊‧⁺˖
Making a Gamer Cloak


My partner has been into the idea of having a cloak to wear at home and to cozy up in while gaming for awhile now.
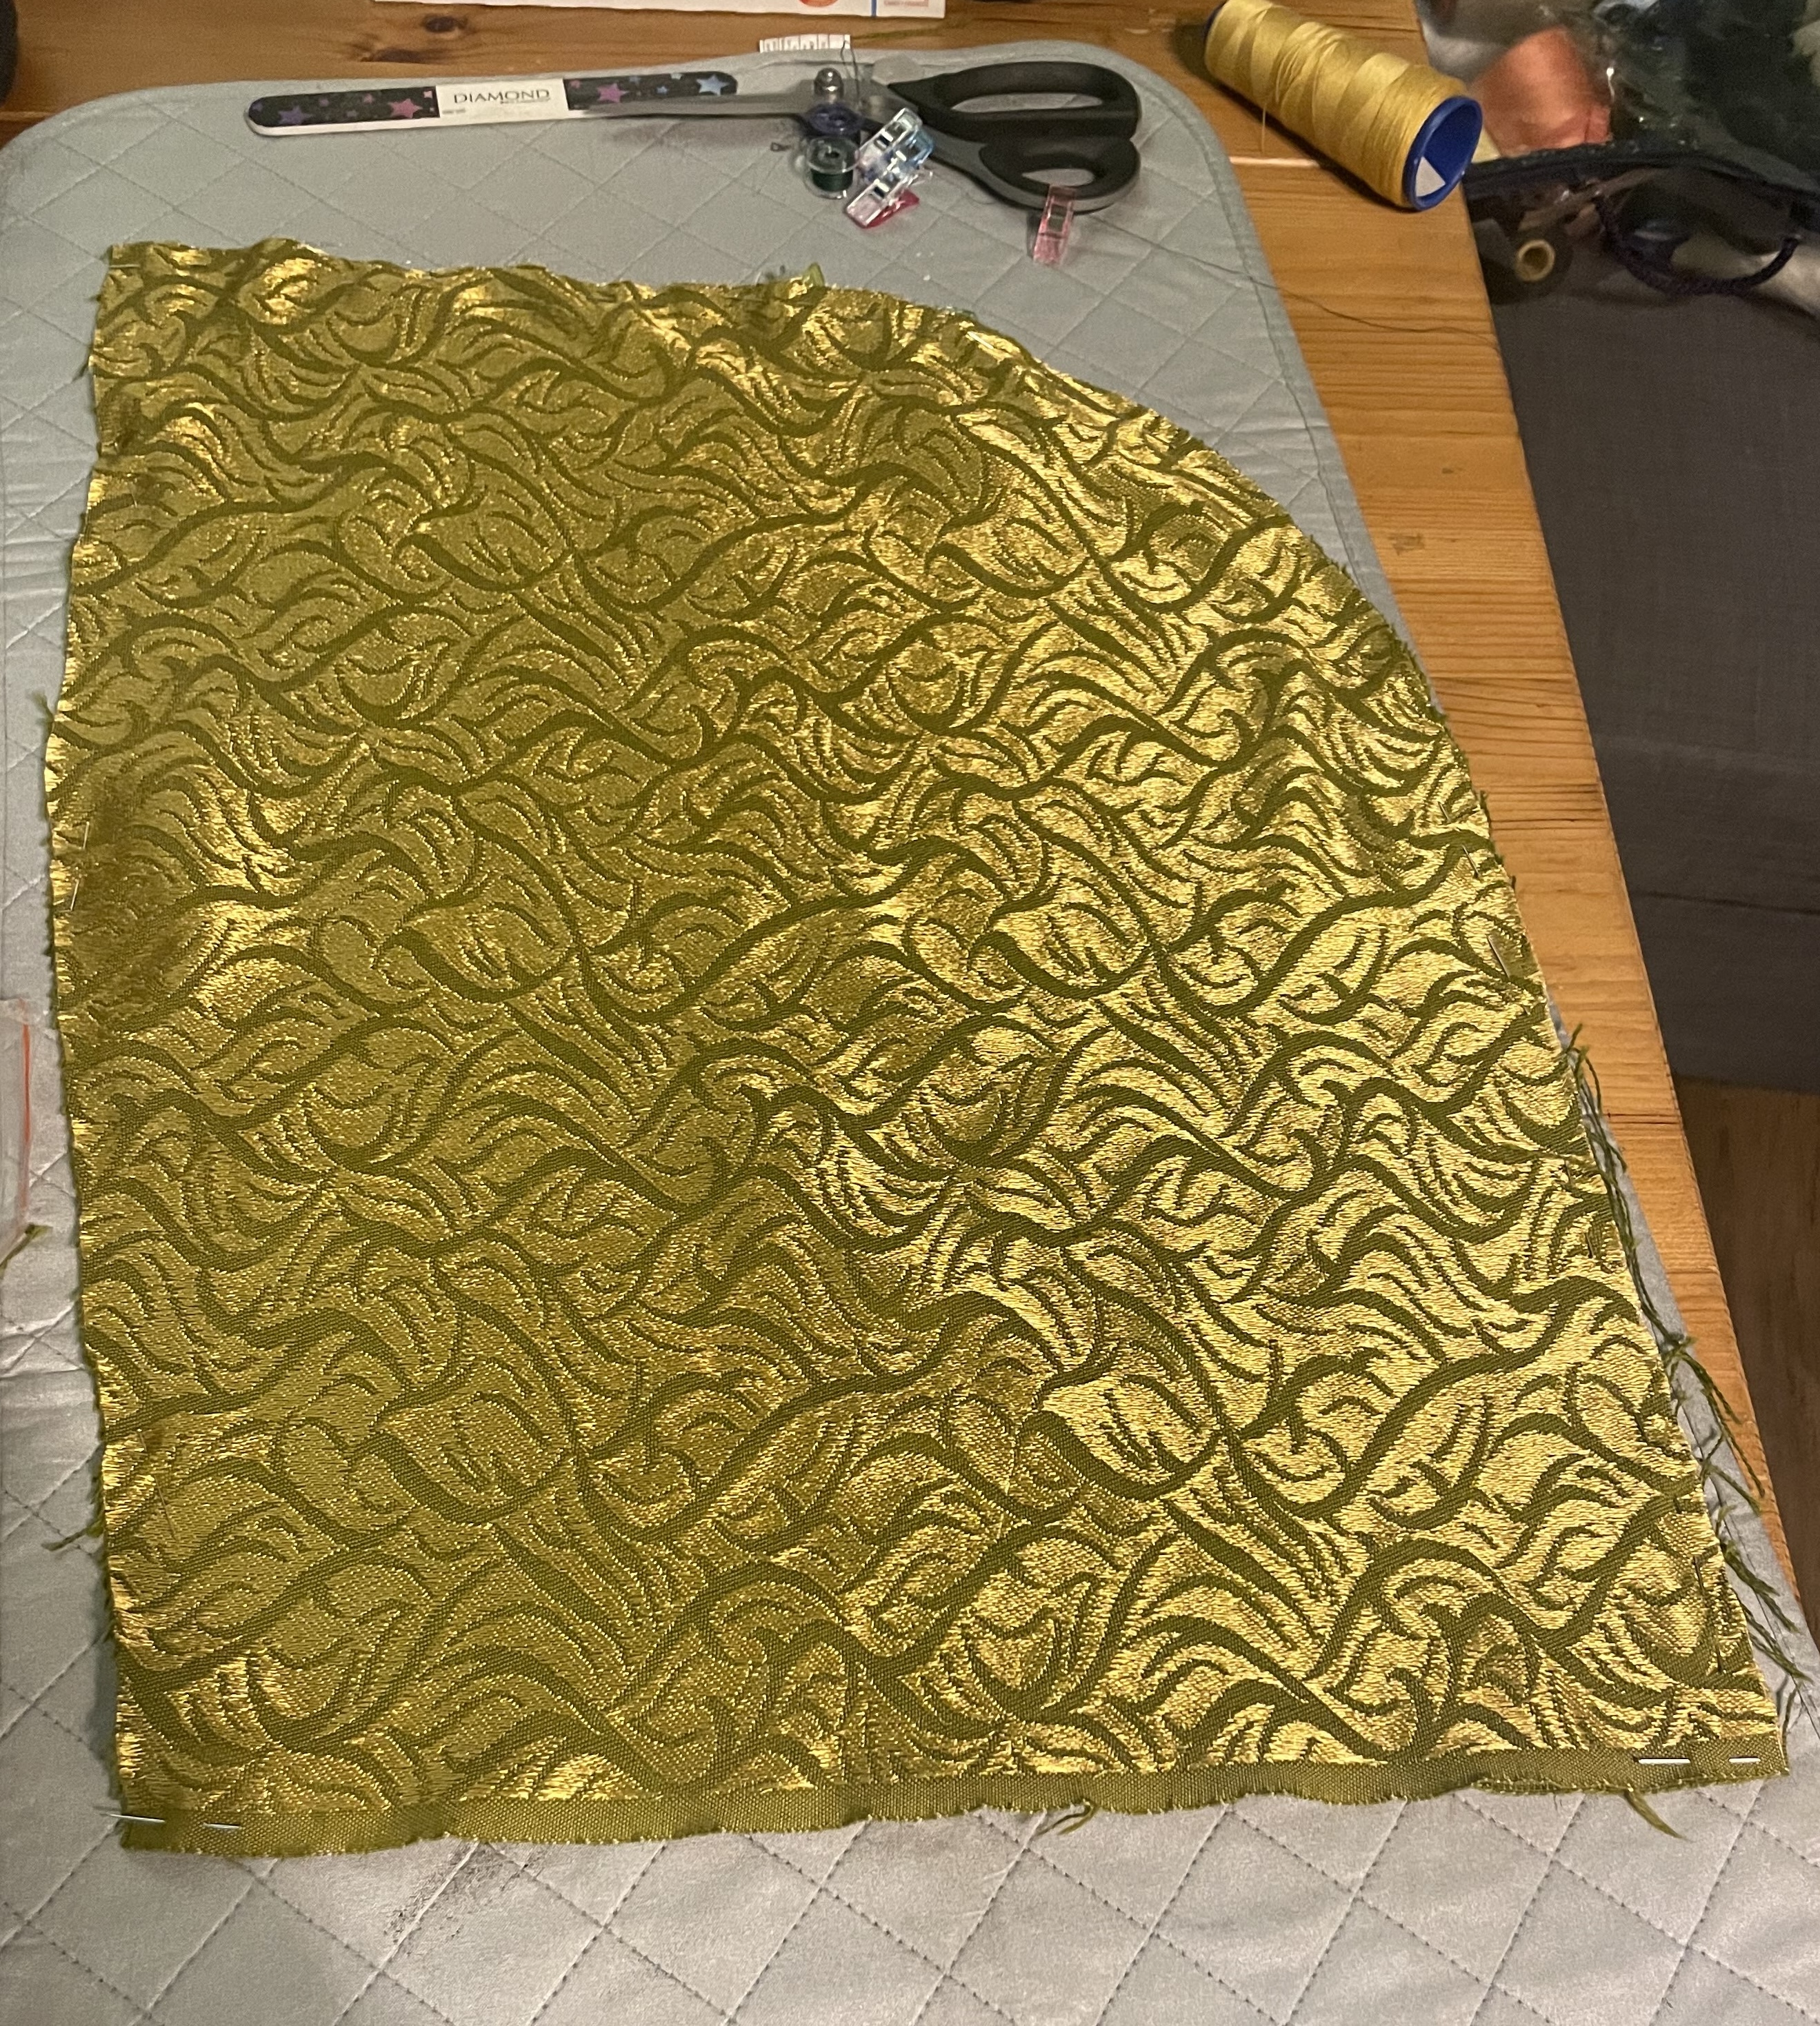
While we were visiting his Nonna for Christmas, she was kind enough to let me plunder her fabric stash. In the stash, I found this beautiful green and gold fabric. It had a foliage pattern woven in that I thought would make a very nice fantasy cloak. If you’re able to swing it, I highly recommend having a friendly relationship with any older women who have a large collection of craft supplies that they are willing to share.
This weekend I decided it was time to turn the fabric into a cloak for my partner. I browsed Youtube and Pinterest for ideas about how to shape the cloak. I settled on making something similar to a ruana with the addition of a large hood based on this guy’s design, but with some different dimensions and finishes.
Materials:
- The fabric I started with was 192cm in length and 115cm in width.
- I used a goldenrod thread.
Steps:
Preperations
- I prepped the fabric by laundering it and giving it a good ironing.
The Hood
- I cut 43cm off the length of the main to use for the hood.
- I folded the fabric in half, and cut out two hood shaped pieces. See image below for what I mean by hood shaped.
- I sewed the two hood pieces together using a french seam along the curved edge. I then top-stitched that seam to one side to keep it flat.
- I hemmed the hood along the edge where the face opening will be.
The Main Body Piece
- I folded the remaining large piece of fabric lengthwise and cut along the folded edge from one side, to just past the halfway point of the remaining length.
- I hemmed the two sides that didn’t have selvedge edges.
Attaching Hood and Finishing The Cloak
- I pinned the bottom edge of the hood to the main body piece’s newly cut opening. I made sure the hood’s seam was aligned with with the center of the opening.
- I sewed the hood to the main body piece with a rather large (3cm) seam allowance.
- I folded over the edge of the opening and the seam twice and sewed it down to hide the raw edges of the fabric.
That was it! Now that the cloak is done it can be wrapped around and pinned in a lot of ways to style it differently. Wooo!

posted: January 20, 2026